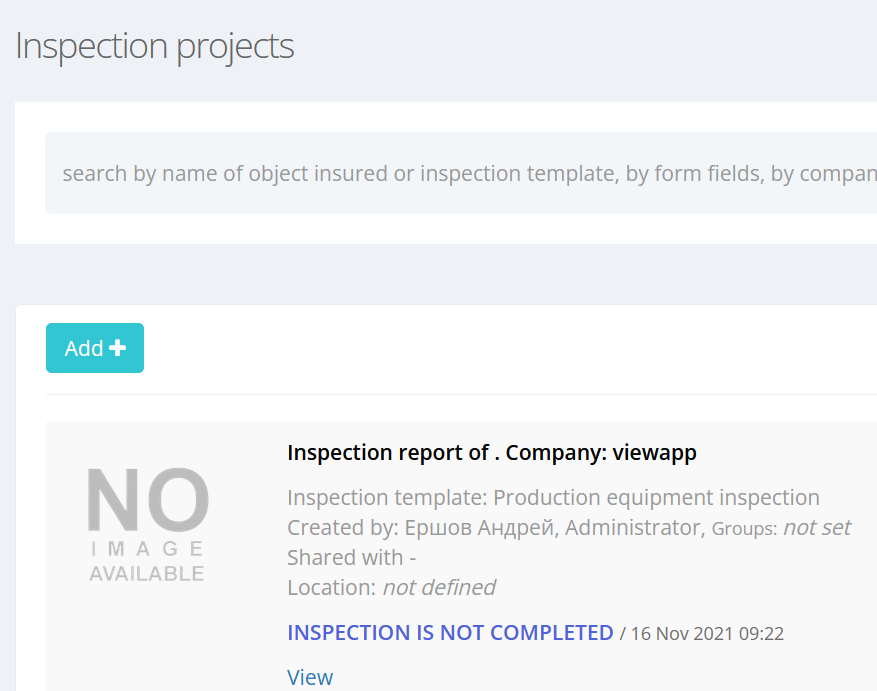
Creating inspection projects
There are several ways to create inspections:
-
Creating inspections one by one;
-
Batch creation of inspections based on an Excel template;
-
Creating MultiInspection.
Menu “Inspection projects”
The menu provides access to the functions of creating inspections.
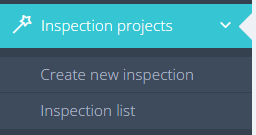
Create new inspection
The function allows you to create inspection.
You can choose on of “Inspection creation variant”
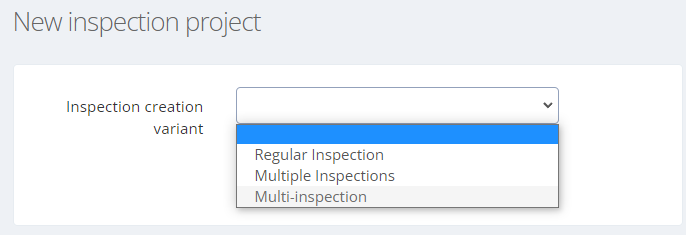
Inspection variants:
Regular inspection
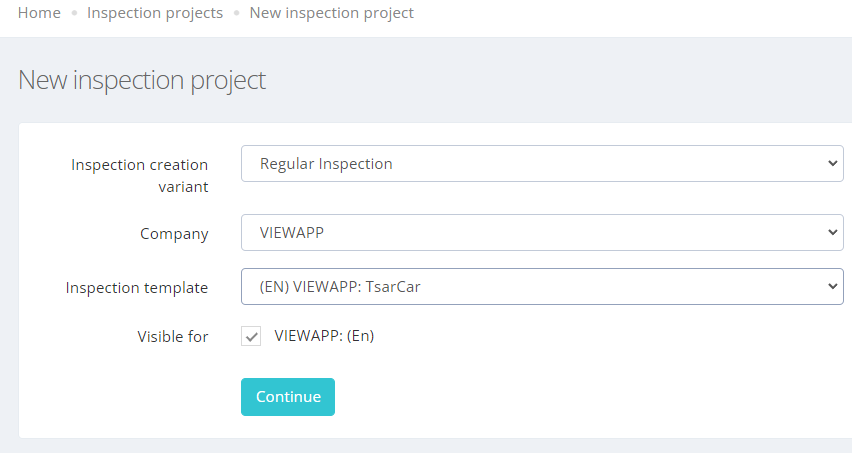
We fill in the attributes for a new inspection.
|
Attribute |
Description |
|---|---|
|
Company |
Choosing a company from registered companies |
|
Inspection template |
Selection of the inspection template on the basis of which a new inspection will be created |
|
Visible for |
Selection of access groups in which the created inspection will be available |
The list of access groups to select is determined as the intersection of the access groups of the template and the access groups of the user creating the inspection. By default, all access groups are marked. The user can select the checkboxes that he needs. If you uncheck all the boxes, then the created inspection will not have any access groups. In this case, the inspection will be available only to the user, who created inspection and the Administrator of the company.
If only one access group is available to the user, the window shape will be different.
Push “Continue” button.
The system creates a new inspection based on the selected inspection template.
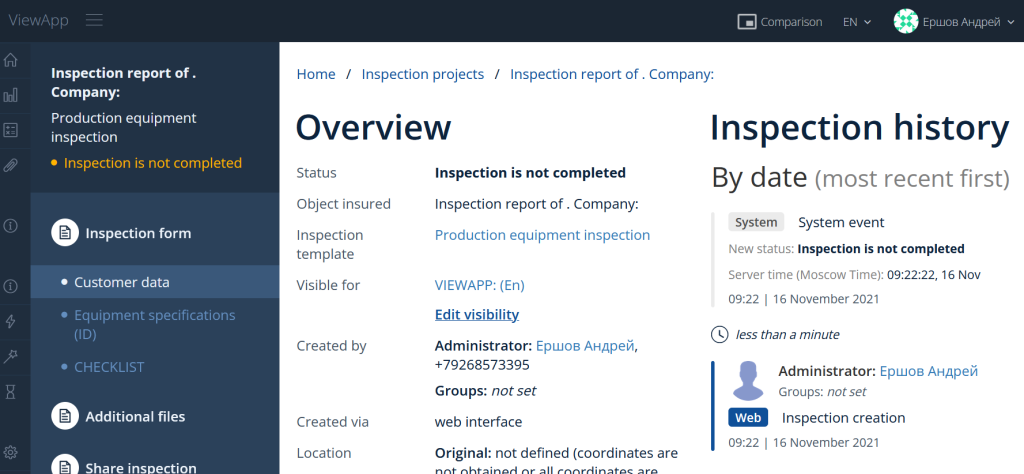
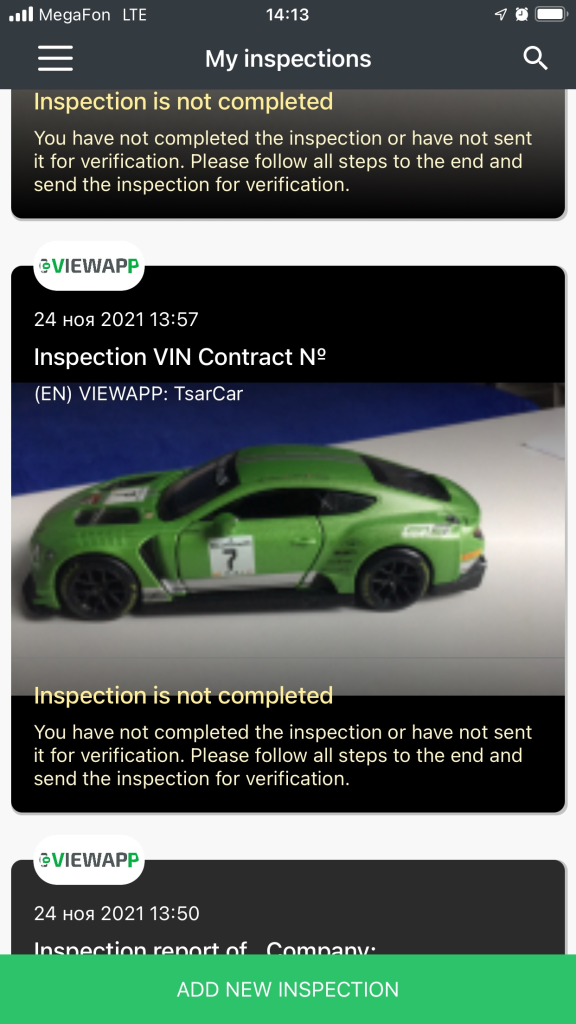
The created inspection is available to the user who created it in the mobile application. In order for other users to have access to the inspection, you need to use the function “Share inspection with“.
Fill in the necessary attributes, using the button “edit”.
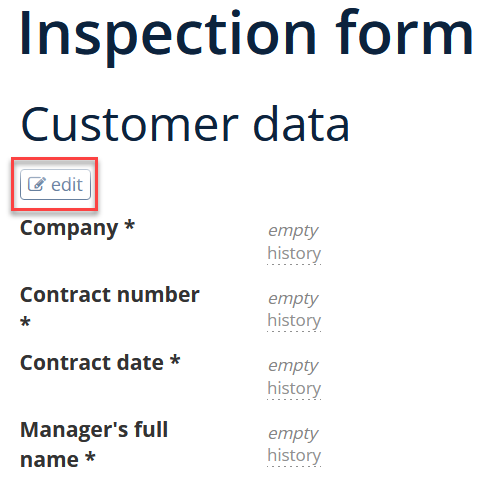
Pushing the "edit" button opens a window with editable fields

We save the form, or we refuse changes.
Setting up signers - who signs the document, possible options for setting up signers

In relation to the created inspection:
-
Specified in inspection - the signatory will be specified manually in the inspection form;
-
Who created an inspection, regardless of user role - пthe signatory is the creator of the current inspection;
-
Anyone shared (but not a creator) - only the person with whom the inspection was shared can sign;
-
Anyone shared or creator of inspection - the person with whom the inspection was shared and the creator of the inspection can sign;
According to the role of the user who has access to the inspection (that is, those who have access to the inspection according to the Role Model or those with whom they shared the inspection will be able to sign):
-
Client
-
Agent
-
Client or agent
-
Inspection organizer
-
Inspection operator
-
Expert
-
Approving person
-
Group administrator
-
Administrator
Using “Share inspection“ function
After filling in all the attributes, we grant access to the user. To do this, in the search box, we fill in name or mobile phone number of user.

Push “Choose” button. The inspection can be sent to multiple users.
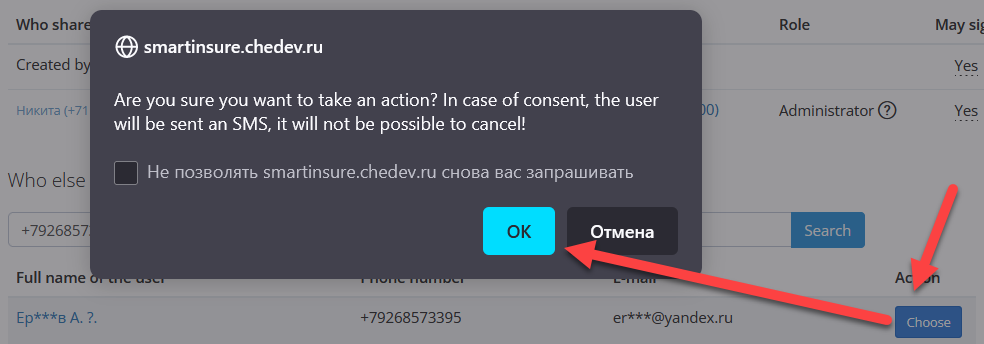
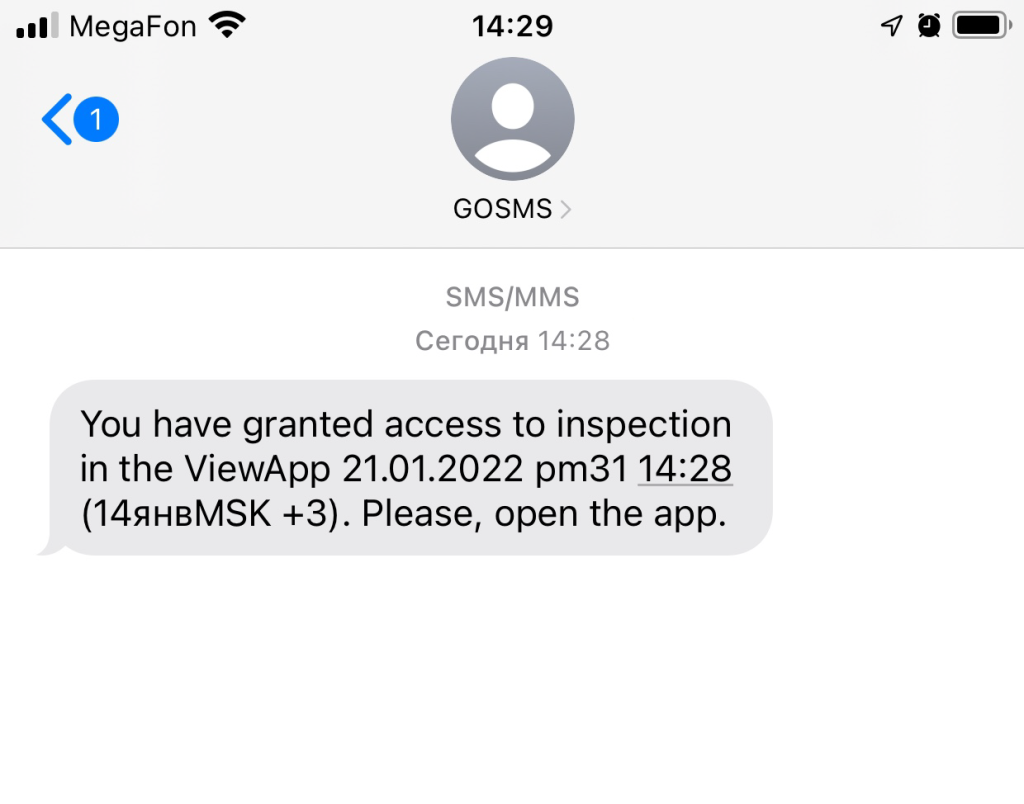
After pushing “OK” an SMS will be sent to the user.
Share inspection with a new client

If there`s no user is the system, we will create new user using the button “Share inspection with a new client”.
After pushing “Share inspection with a new client” the form for new user creation appears
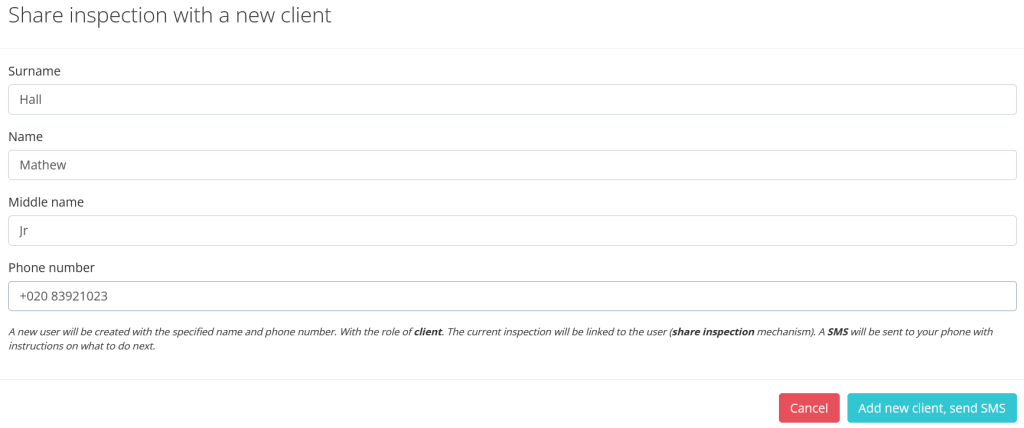
Fill in the form fields.
Then push “Add new client, send SMS”.
If there is an error in the phone number, a message appears.
When a new user is successfully added, a message appears.
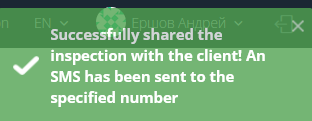
This means that a new user has been created by phone number and the inspection has been shared with him.
The list of users to whom the inspection is available.

|
Status icon |
Description |
|---|---|

|
SMS has not been sent yet, or sent through the provider without monitoring the status of sending. |

|
User has not logged into the APP yet |

|
SMS delivered |

|
User has logged into the APP after receiving SMS |
ACTIONS
|
Action |
Description |
|---|---|
|
|
Re-sending SMS to the selected user |
|
|
Revoke access to the inspection The inspection becomes unavailable after the next synchronization of APP with server |
Multiple Inspections
Inspections are created based on the prepared Excel file. Based on the data in the file, inspections are created.
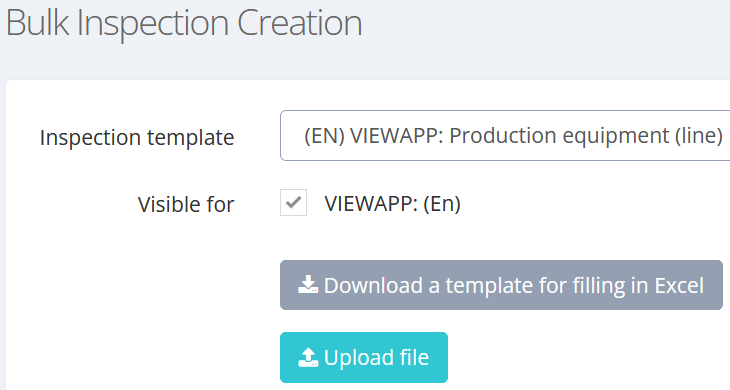
We choose a company, inspection template and visibility.
Download the template to fill in Excel. The template specifies columns for each form field. Do not change the order or heading of the fields in the template, otherwise it cannot be recognized when loading.

Fill in the file and upload to continue.
The file will be recognized, after you will need to confirm that the recognition is correct.

One line in the file is one new inspection. You can leave the fields empty or fill in the values that you would set them in the application or in the administrative interface. At least one field in the row must be specified for the inspection to be created.
For fields with a selection or checkboxes, use the key values set for the options you need in the scheme. You can also use the text that the user sees in the mobile application, but it is more correct to write the key - so the system will be able to uniquely determine how to fill in the field in a new inspection. If you need to tick several boxes, list the keys separated by a semicolon – ";".
For complex fields (for example: full name, Passport, Dimensions), write the text as it seems to you as logical as possible. After recognition, check whether the system has correctly understood the specified values. If not, fix the file and upload it again. The system will give a hint for fields whose values could not be recognized in any of the predictable ways.
If there is an error in the prepared excel file, the system will issue a warning.
Possible errors
The file is not filled in:

Errors in file formatting. The file was not created according to a template.

Data errors
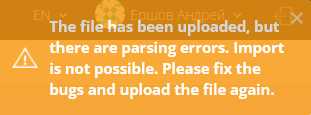
Additionally, the error description will be shown in the preview
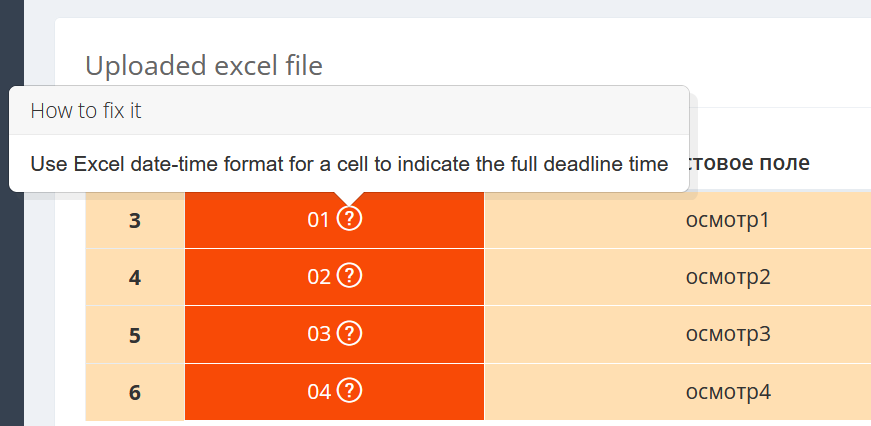
Make corrections to the excel file and upload it again.

If there are no errors in the import file, the share inspection menu will appear
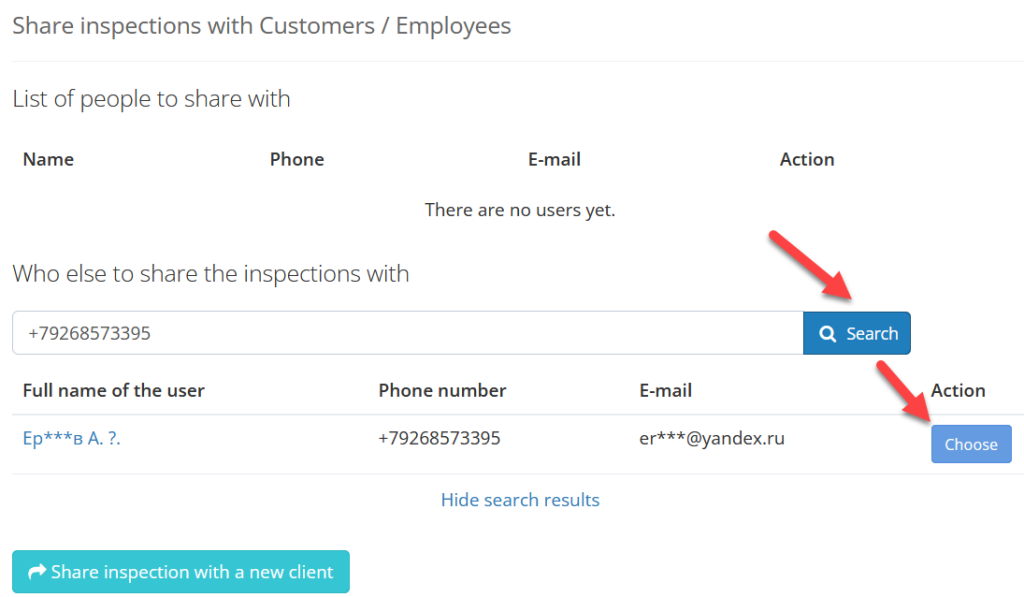
You can share the inspection with both an existing user and a new one.
We import inspections prepared on the basis of Excel into the system
After clicking the “Start import” button, the inspections prepared on the basis of an excel file are imported
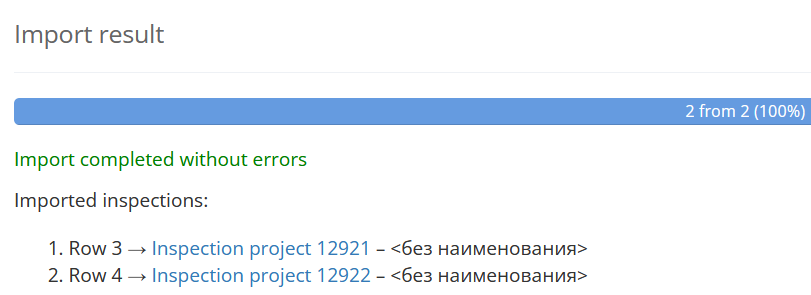
After loading, the inspections will be displayed in the list of inspections. To do this, go to the list of inspections menu item.
MultiInspection
(work in progress)
List of available inspections
Inspection list allows to see all of created Inspection projects.
